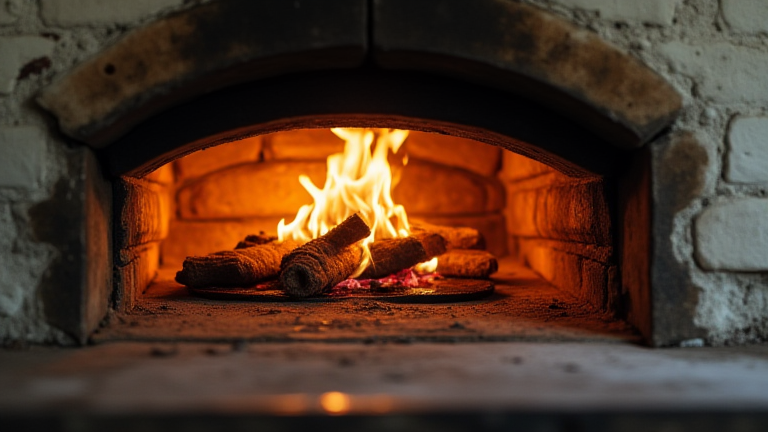
TL;DR: To master the daily use of a traditional wood-fired oven, you must carefully manage the fire build-up and ash removal process to maintain consistent heat. Proper preheating and strategic placement of food ensure even cooking without the need for modern digital controls.
Preparing the Fire Chamber
Start by clearing the ash from the previous day’s use. Use a small metal shovel to remove excess debris, leaving only a thin layer of hot embers to help ignite new fuel. This residual heat is crucial for efficiency, as it reduces the time needed to reach optimal cooking temperatures. Gather dry hardwood logs, such as oak or maple, which burn hotter and cleaner than softwoods. Avoid treated woods or plastics, as they release toxic fumes that can contaminate your food and damage the oven interior. Stack the wood in a teepee formation in the center of the firebox to promote rapid and even ignition.
Igniting and Building the Heat
Use natural fire starters or dry newspaper to light the base of your wood stack. Open the air vents fully to allow maximum oxygen flow, which encourages a strong, roaring flame. As the fire catches, gradually add smaller sticks and then larger logs. Monitor the flames closely; you want a steady burn rather than a chaotic explosion. This process typically takes forty-five to sixty minutes. During this phase, the oven walls begin to absorb thermal energy. You are not just heating the air; you are heating the stone or brick mass itself. This stored heat is what provides the consistent, radiant cooking environment that makes wood-fired ovens superior for baking bread and roasting meats.
Managing the Cooking Environment
Once the fire has died down to a bed of glowing coals, spread them evenly across the floor of the oven. Use a long-handled peel to push the embers to one side or the back, creating a clear cooking zone. If you are baking bread, you may want to keep the coals central to generate intense bottom heat. For roasting, pushing them to the side allows for indirect heat, preventing burning. Close the oven door but leave the top vent slightly open to regulate smoke and temperature. Place your food on a preheated pizza stone or directly on the oven floor, depending on the recipe. Remember that wood ovens retain heat for hours, so plan your meal timing accordingly.
Cleaning and Maintenance
After cooking, let the oven cool completely before cleaning. Never pour water on a hot oven, as thermal shock can crack the masonry. Once cool, sweep out the ash and wipe down the interior with a dry brush. Check the door seal for cracks or gaps that might let heat escape. Regular maintenance ensures longevity and consistent performance. Store your firewood in a dry place to keep it ready for your next session.
FAQ
Q: How long does it take to preheat a wood oven?
A: It typically takes between forty-five and sixty minutes to preheat a traditional wood oven, depending on the size of the fire and the thickness of the oven walls.
If you want to dig deeper, check out our guide on Should AI Agents Have Their Own Company Cards?.
Q: Can I use softwood like pine for cooking?
A: It is not recommended because pine burns too quickly and can create excessive smoke and resin deposits, which affect the flavor of your food.
Q: How do I know when the oven is ready for baking?
A: The oven is ready when the flames have subsided to glowing embers and the interior walls feel intensely hot to the touch, usually indicated by a uniform orange glow.
Leave a Reply