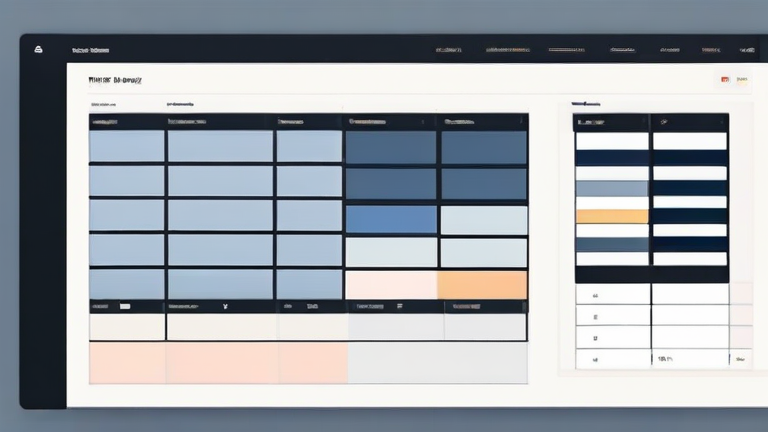
TL;DR: To build a project tracker in Notion, create a new page, add a database with a table view, and configure custom properties for tasks and deadlines. Populate the table with your initial project items and use filters to organize your workflow efficiently.
Step 1: Create a Dedicated Workspace Page
Begin by logging into your Notion account and selecting the “New Page” option from your sidebar. Give this page a clear, descriptive title such as “Project Management Hub.” This page will serve as the central container for all your project-related data. Avoid cluttering the main dashboard; instead, keep this tracker on a separate page to maintain focus and organization. You can also add a brief description at the top of the page to outline the project’s scope and goals, ensuring all team members understand the objective before diving into the details.
If you want to dig deeper, check out our guide on Neutrinos Reveal New Insights Into Earth’s Deep Mantle.
Step 2: Initialize the Database
With your page open, type “/database” followed by a space to bring up the database creation menu. Select “Table View” as your primary view. This is the most intuitive format for beginners and allows for easy row-by-row management of tasks. Name the database “Project Tasks.” Once created, you will see an empty grid. This grid is where the magic happens, as every row represents a single task or action item within your project. Ensure that the database is placed directly on the page rather than inside a toggle or other block, unless you specifically want to hide it for cleaner aesthetics.
Step 3: Customize Properties and Columns
By default, Notion provides a “Name” property and a “Date” property. Click the plus icon on the far right of the column headers to add more properties. Essential properties for a project tracker include “Status” (Select property), “Assignee” (People property), “Priority” (Select property), and “Due Date” (Date property). For “Status,” create options like “To Do,” “In Progress,” and “Done.” For “Priority,” use “High,” “Medium,” and “Low.” Customizing these properties allows you to categorize and filter tasks effectively. Tip: Use icons for select properties to make the visual scan faster and more appealing for your team.
Step 4: Add Initial Data and Structure
Now, populate your database with your first set of tasks. Click on the first row and start typing task names. Fill in the corresponding properties for each task, such as assigning team members and setting deadlines. It is helpful to break down large projects into smaller, manageable subtasks. If a task requires further breakdown, you can enable the “Sub-items” feature within the database settings. This allows you to create hierarchical structures, making complex projects less overwhelming. Ensure that every task has a clear owner and a defined deadline to prevent ambiguity and ensure accountability across the team.
Step 5: Apply Views and Filters
To make your tracker truly functional, create different views for different purposes. Click the plus icon next to the “Table” tab at the top of the database. Add a “Board View” grouped by “Status” to create a Kanban-style layout. This visual representation helps track progress at a glance. You can also add a “Calendar View” grouped by “Due Date” to see upcoming deadlines visually. Use filters to create specific views, such as a “My Tasks” view that only shows items assigned to the current user. These views allow different team members to interact with the data in a way that suits their workflow, increasing productivity and reducing confusion.
FAQ
Q: Can I collaborate with others on this tracker?
A: Yes, you can share the page with team members by clicking the Share button in the top right corner and inviting them by email. Assign specific tasks using the People property to ensure everyone knows their responsibilities.
Q: How do I move a task from To Do to Done?
A: In the Board View, simply drag and drop the task card from the “To Do” column to the “Done” column. In
Leave a Reply