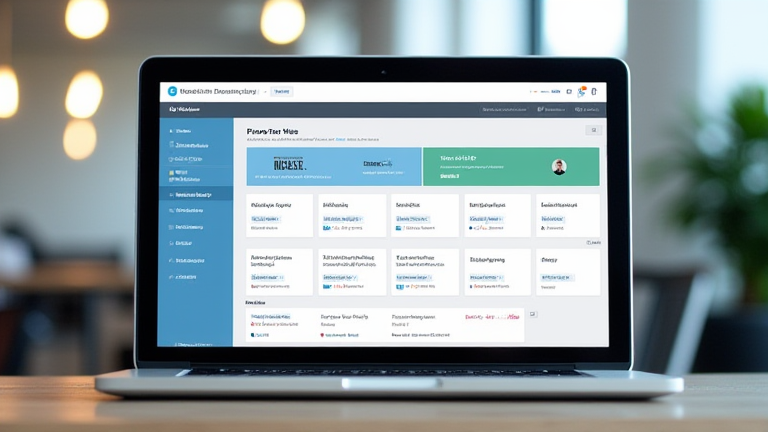
TL;DR: To build a client CRM in Notion, create a new database with properties for contact details, project status, and next steps. Customize your view to track interactions and use templates to standardize onboarding for faster client management.
Introduction
Managing client relationships without a dedicated CRM often leads to missed deadlines and lost follow-ups. Notion offers a flexible, all-in-one solution that allows you to build a custom CRM tailored to your specific workflow. This guide will walk you through creating a functional client CRM in just fifteen minutes, ensuring you have a robust system for tracking leads, active clients, and past projects.
If you want to dig deeper, check out our guide on Fusion-Powered Data Centers: The Path to Carbon Neutral.
Step 1: Create the Database
Start by opening your Notion workspace and creating a new page titled “Client CRM.” Inside this page, type “/database” and select “Table view.” This creates the core structure of your CRM. Name the database “Clients” to clearly define its purpose. The table view is essential because it provides a spreadsheet-like interface that is easy to scan and sort, making it perfect for quick data entry and review.
Step 2: Define Core Properties
Now, define the columns that will hold your client data. Click the plus icon to add properties. Start with a “Text” property named “Client Name.” Add a “Select” property for “Status” with options like “Lead,” “Active,” “On Hold,” and “Past.” Create a “Date” property for “Next Follow-Up” to ensure you never miss a check-in. Add a “Person” property to assign an owner if you are working with a team, and a “Number” property for “Contract Value” to track revenue potential. These core properties form the backbone of your CRM, allowing for efficient filtering and reporting later on.
Step 3: Add Relationship and Rollups
For a deeper level of organization, create a second database called “Projects” if you do not already have one. In your “Clients” database, add a “Relation” property to link each client to their specific projects. Then, add a “Rollup” property to sum up the total contract value or count the number of active projects per client. This feature provides instant insights into the health of each client relationship without manual calculation, saving you significant time during reviews.
Step 4: Customize Views for Workflow
To make the CRM actionable, create different views for different purposes. Click “Add View” and select “Board.” Configure it to group by “Status.” This Kanban-style board allows you to visually drag and drop clients from “Lead” to “Active,” providing a clear overview of your sales pipeline. Next, add a “Calendar” view filtered by “Next Follow-Up.” This view is critical for scheduling, as it displays upcoming deadlines on a monthly calendar, ensuring timely communication with your clients.
Step 5: Create Templates for Efficiency
Standardize your process by creating templates. In the “Clients” database, click the dropdown arrow next to “New” and select “New Template.” Create a template called “New Client Onboarding.” Inside this template, pre-fill the status as “Active” and set the next follow-up date to one week from now. You can also add a default page template that includes sections for “Notes,” “Meeting Minutes,” and “Deliverables.” Using templates reduces repetitive data entry and ensures consistency across all client records.
Pro Tips for Success
Use filters to create focused views, such as a “High Value” view that only shows clients with a contract value over $10,000. Regularly clean up your data by archiving “Past” clients who have not interacted with you in six months. Finally, integrate Notion with email or calendar tools if available, or simply set reminders in your personal calendar for the dates listed in your “Next Follow-Up” property. Consistency is key; make it a habit to update your CRM at the end of every client meeting.
FAQ
<p
Leave a Reply