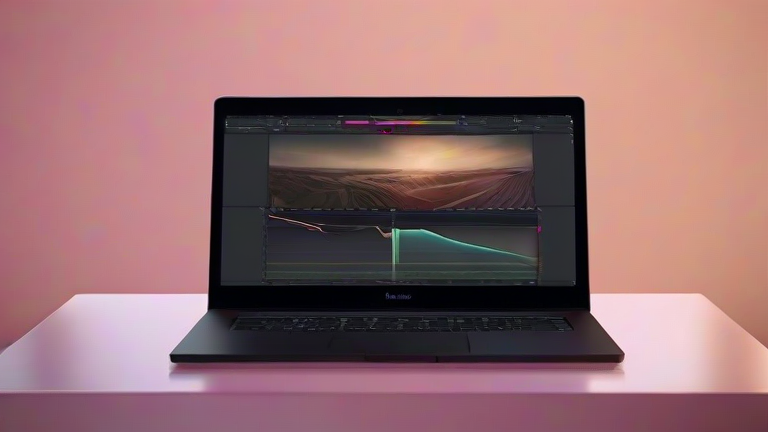
TL;DR: Learn to color grade in DaVinci Resolve by mastering the Color page’s primary corrections, creative looks, and power windows. This guide walks you through balancing exposure, adjusting color temperature, and adding final polish for a professional cinematic result.
Step 1: Prep Your Timeline and Nodes
Begin by ensuring your project is rendered and placed on the timeline. Switch to the Color page by clicking the icon that looks like a prism. For every clip, DaVinci Resolve automatically creates a node structure. The first node is your primary correction node. Keep this node dedicated to balancing the image, ensuring the blacks are true black and the whites are true white without clipping. Use the scopes, particularly the waveform monitor and histogram, to verify that your exposure is balanced. Do not rely solely on what your eyes see, as monitors can vary significantly in color accuracy. Aim for a neutral starting point where the skin tones look natural and the overall brightness is consistent across the entire sequence.
If you want to dig deeper, check out our guide on Digital Twin Cities: Optimizing Traffic & Energy Grids.
Step 2: Establish the Creative Look
Once the primary correction is balanced, create a new node by pressing the plus key or double-clicking in the node area. This second node is for your creative color grading. Start with the Color Wheels in the primary panel. Use the Lift wheel to adjust shadows, the Gamma wheel for midtones, and the Gain wheel for highlights. A common cinematic technique involves lifting the shadows slightly and adding a subtle blue tint to the highlights while keeping the midtones warm. You can also use the Log wheel to shift the entire color balance. Experiment with the saturation slider to enhance or mute the colors. Remember that less is often more; subtle adjustments usually yield a more professional and natural-looking result than aggressive, saturated changes that distract the viewer from the narrative.
Step 3: Advanced Adjustments and Power Windows
For more specific control, use the Power Window tool to isolate specific parts of the image. Create a window around a subject’s face to adjust their skin tones independently from the background. This is crucial for ensuring the main character remains the focal point. You can also use the Qualifier tool to select specific colors, such as the blue of a sky or the green of grass, and adjust them without affecting the rest of the scene. Be careful with the qualifier settings; tighten the hue and luminance ranges to avoid bleeding colors into unintended areas. Additionally, consider using the HSL Primary panel to fine-tune specific color channels. For example, you might want to desaturate reds slightly to make blue tones pop, creating a complementary color scheme that is visually pleasing to the human eye.
Step 4: Final Polish and Export
After setting your grade, apply a final node for global adjustments. This might include adding a slight vignette to draw the eye to the center, increasing contrast slightly for a punchier look, or adding film grain to emulate a specific aesthetic. Use the Node Graph to organize your workflow, labeling nodes for clarity if the project is long. Check your work on different displays if possible, as colors can shift between screens. Once satisfied, render your project. DaVinci Resolve offers high-quality encoding options that preserve the color fidelity of your grade. Always back up your project file before rendering to avoid any potential data loss. By following these steps, you will transform flat footage into a polished, cinematic piece that stands out in any portfolio or production.
FAQ
Q: What is the best resolution to start color grading?
A: It is recommended to work in the highest resolution available, such as 4K or 6K, to preserve detail and color depth before downscaling for final export.
Q: Should I color grade before or after editing?
A: Always finish your editorial cut first. Color grading requires a locked timeline because changes in the edit can alter the visual continuity and exposure balance of the sequence.
Q: How do I fix banding in dark shadows?
A: Use the Denoise panel in the Color page or apply a subtle lift to the shadows in the primary node
Leave a Reply